Here’s How to Charge Nintendo Switch Controllers!
The Nintendo Switch has become a viral gaming system whose appeal is the ability to play anywhere with its portable controllers.

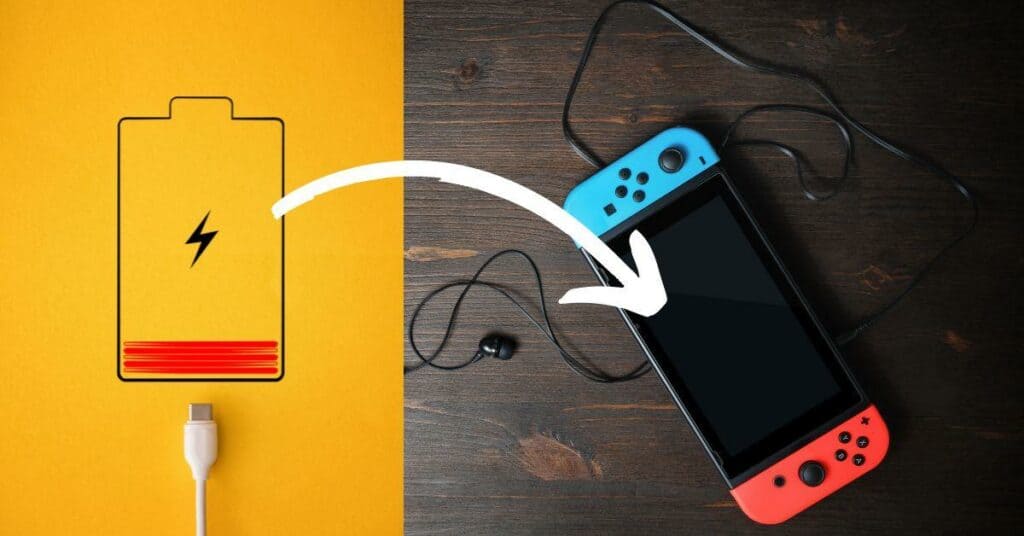
You can charge a Nintendo Switch controller through the docking station provided with the console or a direct connection via a USB cord that comes packaged with every purchase. It takes about 3-4 hours to fully charge the Nintendo switch controllers.
However, if you’re new to the console, it can be confusing to figure out how exactly one should charge their controllers. We’ve done comprehensive research through interviews with players and compiled this guide presenting various options for charging your Nintendo Switch controllers.
What is the Nintendo Switch?
The Nintendo Switch is a hybrid video game console released in 2017 by Nintendo. It combines home console aspects from traditional consoles like the Xbox One and PlayStation 4 and portability from handheld systems like smartphones or tablets.
The system also supports multiple controller types, including:
Single Joy-Con controllers are meant for one person.
Dual Joy-Cons are suitable for two players and can be separated into wireless units when needed.
The Pro Controller is explicitly designed for more intense gaming experiences with its larger size and increased number of buttons compared to the other controller types.
All three models require a charging cable to keep them powered up while playing or between sessions.
What are the Requirements for Charging a Nintendo Switch Controller?
To charge any of the controllers mentioned above, you will need an AC adapter, a USB cable, and access to a power outlet.
If you don’t have an AC adapter, you can purchase them separately from your local electronics store or online retailers such as Amazon. You should also check that your controller is compatible with the charging cables provided. This is because controllers are not created equal when it comes to charging.
Charging Times for the Nintendo Switch Console
The amount of time it takes for any given controller to charge fully depends on the charger used and how low the battery was before starting.
Generally speaking, if you are using either a USB cable or an AC Adapter, it should take approximately 3-4 hours for a full charge. However, this may vary depending on factors such as how much gaming you’ve done since the last charge.

How to Charge JoyCon Controllers
To charge the Joy-Con controllers, you must attach the USB charging cable provided with your Nintendo Switch console.
The USB cable should fit snugly into both sides of each Joy-Con controller, although it may take a little pushing or wiggling for it to fit correctly.
Once connected, plug the other end into an AC adapter or a power outlet and allow it to charge. Depending on how low your battery was before starting this process, full charging times could range anywhere from 2 hours up to 4 hours.
Can You Charge JoyCon When Playing?
Yes! You can charge your Joy-Cons while playing by connecting them directly via their cables without needing an external charger or dock station. Make sure each player has their own cables so they don’t get tangled up during playtime.
How to Charge the Pro Controller
To recharge your Pro Controller, you will need a different type of cord than what is used for the single and dual Joy-Cons.
Pro controllers come with a proprietary connector, which cannot be plugged in without adapters or special cords explicitly designed.
Connect one end directly into your Pro Controller, then plug the other side into an AC adapter or straight onto any available power outlets, including those found on computers and televisions.
Charging times are similar to Joycons but can vary depending on how much gaming you’ve done before charging. A full charge could take anywhere from 2-4 hours.
How to Use a Charging Dock
A charging dock is an optional accessory for the Nintendo Switch that allows you to quickly and easily charge any of your controllers without having to plug in each one individually.
Simply place the controllers or their Joy-Con halves if they are separated onto the dock, then connect it to either an AC adapter or power outlet.
How to Use a Charging Grip
The charging grip is a unique controller released alongside the Nintendo Switch console. It combines single Joy-Cons into one larger unit while also allowing them to be recharged directly within this device by connecting them with a USB cable that fits snugly between its two sides.
This makes them ideal for playing games with friends or family members who don’t have their own controllers, as well as saving space when traveling around due to not needing separate pieces for every player.
Regarding recharging, there really isn’t anything special about using this grip compared to any other method mentioned above aside from possibly taking slightly less time due to only having one cord instead of two.
How to Use a Charging Case
Charging cases are another great way of keeping all your individual controllers powered up no matter where you go. These cases come prebuilt with batteries inside, allowing you to quickly attach multiple JoyCon halves simultaneously via USB cords that plug straight into each side.
These cords can also be extended to accommodate more room within said case should the need arise while traveling around town or during longer sessions at home. Remember to check manufacturer instructions before using since some cases may require different settings.
How to Use the USB Cable
If you don’t have any other options available, simply attaching the provided USB cable directly into the outlet wall and plugging its other end into the Switch console itself or the AC adapter will also suffice.
How Can You Tell That Your Joycons are Fully Charged?
Several ways to tell whether or not your particular controller has finished charging fully.
Check the LED lights located at the bottom part of each individual device, and they signify the following:
- Green meaning they are fully charged
- Orange warns of low levels
- Red requests your immediate attention
How Long Does a Fully Charged Battery Last?
The battery life of each individual controller varies depending on the type and how often it is used.
- A single Joy-Con should last around 20 hours before needing to be recharged
- Dual Joy-Cons can last up to 40
- Pro model roughly 60

Tips on Extending the Battery Life of Your Nintendo Switch
- Turn off the vibration feature every time it is not needed. This helps reduce the amount of power being drawn.
- Using a headset while playing also helps conserve energy because no sound comes through the speakers.
- Not using it while it’s charging.
Smart Solutions for a Quicker Charge Time With Your Nintendo
Invest in a third-party fast charger. These specialized cables come equipped with technology designed to accelerate the charging process.
Bear in mind, however, that these will require additional power sources, so ensure you have the right connectors and adapters ready before attempting to use them. Otherwise, you may end up causing irreversible damage to your controllers or even your console.
Key Takeaways
- 3 Nintendo Switch controller types; Single Joy-Cons, Dual Joy-Cons, and Pro Controllers.
- Each controller requires different connections.
- The expected recharging time is roughly 3–4 hours.
- You can charge them using USB cables, charging docks, and grip cases.