3 Easy Steps To Pair Your AirPod Pros
When purchasing a new pair of AirPod Pros, you’ll want to know how to pair them to your device and the following steps will make that super easy to do. New accessories are always a treat, especially when they come from the tech giant, Apple. Investing in a pair of AirPod Pros is exciting and you’ll probably want to know how to pair them with your iPhone or another device as soon as you get them. Well, rest easy, because the process is that – easy!

Table of Contents
How do you pair your AirPod Pro earbuds?
To pair your AirPod Pro headphones to your iPhone or to another device, you will need to make sure both devices are charged, open your AirPod Pro case, then follow the instructions on your iPhone or another device.
Even though the AirPod Pro has come out with a new design and some features that are more advanced than Apple’s previous models of AirPods, these sleek and discreet wireless headphones still make pairing with another device very straightforward. And, even for those of us who are the most technically challenged, getting your new AirPod Pro headphones up and running is truly a breeze.
I was hesitant to invest the money in buying a new pair of AirPod Pros when my other headphones quit working. But, I finally broke down and did it, and let me tell you – these guys are a game changer for me! The AirPod Pros have every bell and whistle that you could possibly want – let’s get yours paired and ready to use so you can experience what I am talking about.
How Do I Pair My AirPod Pros?

When Apple first came out with the first generation AirPods in 2016, the world was smitten. These wireless headphones really took the tech world by storm, especially in the headphone arena. They were small, sleek, and produced exceptional sound quality. And, typical of most Apple products, they had a style that just made them fun to wear.
But then Apple gave us the AirPod Pros in 2019, and everyone was again wowed by the improvements that were made in just three short years.
The AirPod Pros carry a bigger price tag than the first generation AirPods, which is understandable, given their increased features and technical advancements. But what you get, at least in my opinion, is definitely worth it.
And it’s clearly worth it to plenty of other Apple fans as well, considering more than 60 million pairs of the AirPod Pros were sold just last year alone.
Not only do the AirPod Pro headphones have earbuds that are more comfortable and more ergonomically correct, but they are also water resistant, meaning they can handle some water exposure…a critical change over the original AirPods.
The other great feature of the AirPod Pro is that it has noise-canceling capability, something that – again – the first generation AirPods did not have.
Noise-canceling capability means that any exterior noise can be effectively blocked out for the user while they are actively using their AirPod Pro headphones. This is a huge perk that had not been seen in earbud-based wireless headphones previous to the AirPod Pros release.
Hopefully, you are now just as excited as I am about your new AirPod Pro headphones and feel justified in paying that higher price tag. Now, let’s get them set up and ready, so that you too can enjoy all the new features they have to offer.
1. Make Sure Both Your AirPod Pros and Your Other Device is Charged
In order to pair your AirPod Pros with your iPhone or another device with which you want to use it, you’ll want to make sure both are already charged before you start.
Apple products come with a Lightning to USB cable that allows you to charge them from any standard plug in your home.
If you bought your AirPod Pros second-hand or they have been refurbished, this cord may be missing, but you can easily buy replacements online or at most big box stores.
Apple sells them directly as well, through their retail stores, as well as online.
Another option for charging is to use a wireless charging pad. These pads can also be bought at the same places where other Apple products are sold.
A wireless charging pad can also be a great accessory for charging not just your AirPod Pros, but your other Apple devices as well. Charging pads will need to be plugged in to a power source, but the items you want to charge will not require any sort of cables to charge, once you place them on top of the charging pad. You will know they are charging when the appropriate light on the device is lit.
Once your AirPod Pros and the device you want to pair them to are all charged, you’re ready to move to the next step.
2. Open Your AirPod Pro Case
This step seems obvious, but I feel it’s worth mentioning, as you won’t be able to pair your AirPod Pros to your other device without doing this.
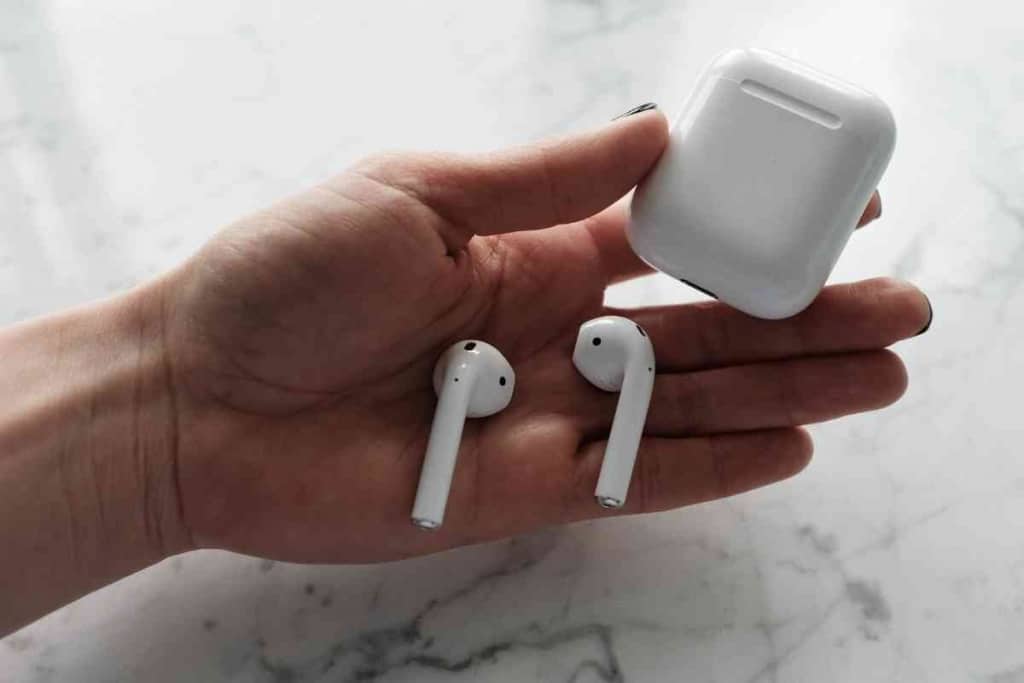
The AirPod Pro headphones are housed in a white, polycarbonate case that does more than just protect them.
This sleek little case also contains the battery pack for your headphones and basically acts as the brains of the whole operation. Information, such as system updates, auto adjustment, and charging capabilities are all kept in this cute, compact package.
In order to be able to pair your AirPod Pros with something else, you must open the case so that the elements inside can begin to recognize the other device to which it is going to be paired.
This is how the internal “brain” of the AirPod Pro headphones is able to work. Without the case open, it won’t be able to recognize the other device.
As soon as you open the case, you should notice the screen change on your iPhone, iPad, or whatever you are trying to pair your headphones to.
The screen will show an image of your AirPod Pros and a dialog box will pop up.
You will then be prompted to follow the instructions on the screen, walking you through the rest of the setup process with the instructions that follow.
3. Follow the Instructions on Your iPhone or Other Device
The rest of the pairing for your AirPod Pros should be relatively easy, if you’ve gotten to this point and everything is working smoothly.
One of the great advantages of Apple products is that their software and engineering teams have really taken the time to create products that are simple to set up.
They know that the majority of us are not as tech savvy as a software engineer may be, and they take that into consideration when coming up with new products and accessories.
They also have a great helpline and support options if and when you need them.
But pairing your AirPod Pros to your other device should be something you can do on your own, if you follow the following prompts.
The first dialog box that appears will say “Connect.” Go ahead and select this prompt.
From here, several different dialogue boxes will pop up, explaining some of the features of the AirPod Pros, and asking if you need further information about any of them.
(For example, you will be given a chance to engage in a tutorial about the AirPod Pro headphone’s noise-cancellation feature. If you don’t wish to go through the tutorial, you can choose “skip.”)
You’ll also have the option to enable another cool new feature that allows Siri to read your incoming messages through your AirPod Pros.
If this is something that sounds appealing to you, simply click on the dialog box that will enable this feature. You can also turn it off or on later, by going to your Settings, if you change your mind.
Finally, once you’ve clicked through the various dialog boxes and set-up options, you will be prompted with one last button.
Clicking “Done” will mean your AirPod Pro headphones are now paired with your device of choice, and the set-up process is complete.