How Do I Allow My Computer To Access My iPhone? Simple Steps & Tips
You plug in your iPhone, wait for something to happen, and… nothing. Your computer acts like it’s never met your phone before in its life. Frustrating, right?

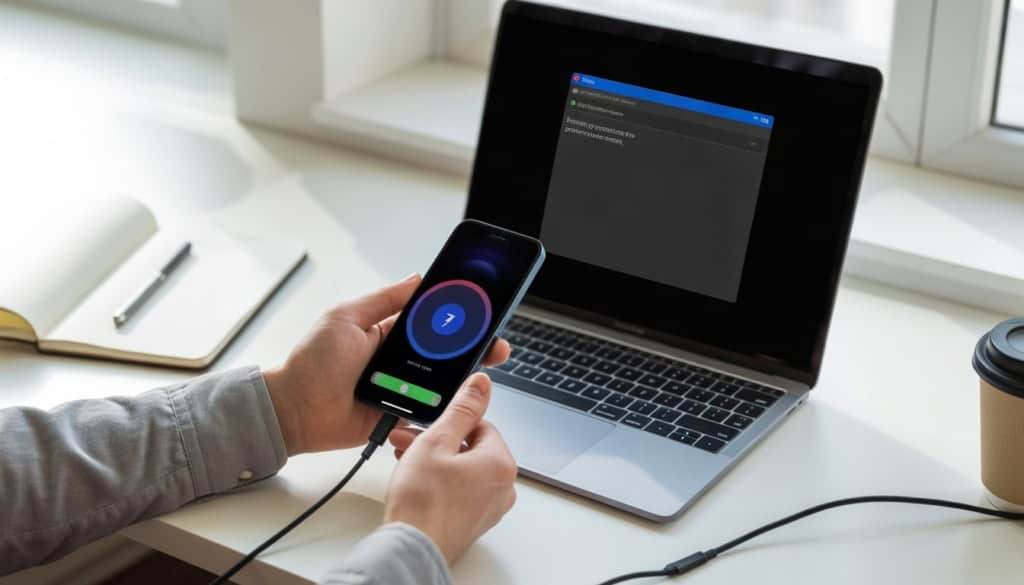
To allow your computer to access your iPhone, you need to connect it with a USB cable and then tap “Trust” on your phone when the alert pops up—this tells your iPhone that your computer is safe to share data with. It’s basically your phone asking, “Hey, do I know you?” and you saying, “Yes, we’re good.” This trust setting protects your data from sketchy computers that might try to snoop around.
The good news is that once you know the basics, connecting your iPhone to your computer becomes pretty straightforward. Whether you’re using a Mac or a Windows PC, the process is similar. And if things still aren’t working after you’ve done everything right, don’t worry—there are some easy fixes that usually do the trick.
Getting Your Computer Talking to Your iPhone: The Basics
When you plug your iPhone into your computer, you’ll need to give permission before anything actually happens. This involves tapping “Trust This Computer” on your phone and using the right app on your PC to make the connection work.
What’s With the ‘Trust This Computer’ Pop-Up?
You know that little message that pops up on your iPhone screen when you plug it in? The one that says “Trust This Computer”?
That’s not your phone being paranoid. It’s actually looking out for you.
Trust settings exist to protect your iPhone from computers that might try to grab your personal data without permission. Think of it like your phone asking, “Hey, is this computer cool?” before it opens the door to your photos, messages, and backups.
Here’s what happens when you tap Trust:
- Your computer can now access your iPhone’s files and data
- You can sync photos, videos, and other content
- Backups and updates become possible
- The computer gets saved as a trusted device
If you accidentally tap “Don’t Trust,” don’t worry. Just unplug your iPhone, plug it back in, and the message will pop up again. You get a do-over.
Your iPhone will remember trusted computers, so you won’t have to approve the same device every single time you connect.

How to Connect an iPhone to a PC or Windows 11 (The Easy Way)
Connecting your iPhone to a Windows computer is simpler than you might think. You just need the charging cable that came with your iPhone and an available USB port.
Follow these steps:
- Grab your iPhone’s charging cable
- Plug the Lightning end (or USB-C if you have a newer model) into your iPhone
- Plug the USB end into your computer’s USB port
- Wait for the “Trust This Computer” message on your iPhone
- Tap Trust and enter your passcode if asked
Your computer should recognize your iPhone right away. You’ll hear a little chime or feel a vibration when the connection works.
If nothing happens, try a different USB port or check if your cable is damaged. Sometimes the cable looks fine but doesn’t work properly.
Once connected, you can transfer files, sync content, or back up your iPhone using iTunes or File Explorer.
Getting Set Up with Phone Link and Link to Windows
Microsoft’s Phone Link app lets you connect your iPhone to Windows 11 wirelessly. It’s basically a bridge between your phone and computer that doesn’t need a cable after the initial setup.
Here’s what Phone Link can do:
- Send and receive text messages from your PC
- Make and receive phone calls
- View notifications
- Access photos recently taken on your iPhone
To get started, you’ll need to pair your iPhone with Windows 11 using Phone Link. Download the Phone Link app from the Microsoft Store if your computer doesn’t already have it. Then download the Link to Windows app from the Apple App Store on your iPhone.
Open Phone Link on your computer and follow the setup prompts. You’ll scan a QR code with your iPhone camera to link the two devices. Make sure both devices are connected to Wi-Fi and have Bluetooth turned on.
The first time takes a few minutes, but after that, your iPhone and PC will connect automatically when they’re nearby. It’s like teaching your devices to recognize each other as friends.
Troubleshooting and Smart Tips for a Smoother Connection
Sometimes your iPhone and computer just need a little extra help to get along. The right software, the right cable, and a few backup tricks can save you from a lot of head-scratching.
Installing or Updating iTunes: Why It Matters
If you’re using a Windows PC or an older Mac, iTunes is the bridge between your iPhone and your computer. Without it, your computer might not even see your iPhone when you plug it in.
Think of iTunes like a translator. Your iPhone speaks Apple, and your PC speaks Windows. iTunes helps them understand each other.
To get started, you’ll need to download iTunes from Apple’s website if you don’t already have it. Make sure you grab the official version, not some sketchy third-party copy.
Once you install iTunes, restart your computer. Seriously, restart it. This gives Windows a chance to load all the drivers it needs to recognize your device.
If you already have iTunes but things aren’t working, you might need to update it. Open iTunes, click Help, then Check for Updates. An outdated version can cause all kinds of weird connection issues.
Cables, Adapters, and Other Gotchas (USB-C to USB-A Adapter, Anyone?)
Your cable matters more than you think. A frayed or damaged cable won’t just charge slowly—it might not let your devices talk to each other at all.
Check the charging port on your iPhone for lint, dust, or debris. A toothpick or a dry toothbrush can gently clear it out. Just be careful not to damage anything inside.
If your iPhone has a Lightning port but your computer only has USB-C ports, you’ll need a USB-C to USB-A adapter or a USB-C to Lightning cable. Not all adapters are created equal, so stick with Apple-certified ones when possible.
Try a different USB port on your computer too. Some ports are just for power, not data. The ports on the back of a desktop usually work better than the ones on the front.

What to Do If Your Computer or iPhone Just Won’t Cooperate
Sometimes you do everything right and it still doesn’t work. Don’t panic—there are still a few tricks to try.
First, unlock your iPhone before plugging it in. By default, you need to unlock your device for it to communicate with accessories and computers.
If the “Trust This Computer” alert doesn’t show up, unplug your iPhone, unlock it, then plug it back in. This simple reset can wake up the connection.
Still nothing? Restart both your iPhone and your computer. It’s the classic tech advice because it actually works most of the time.
You can also check your iPhone settings. Go to Settings > Privacy & Security > Wired Accessories and make sure it’s set to allow connections when unlocked. If you’ve accidentally blocked accessories, this is where you fix it.