How To Transfer Music From An iPod To iTunes In 3 Steps
If you’ve recently discovered an old iPod that’s got music you don’t already have in your iTunes account, you’re probably wondering a simple question: Is it possible to transfer music from an iPod to your iTunes?
To transfer music from an iPod to iTunes, start by turning off the automatic sync function in iTunes. Then, plug your iPod into your computer and navigate to the ‘iPod_Control’ folder. Finally, open the ‘Music’ folder, move the desired files to the computer, and import them to your iTunes library.
Now you’ve got an idea of the basic process. However, there are a couple of common snags that might appear along the way. Let’s go over the steps in detail so that you can transfer your music library to your computer without a hitch.
Step 1: Stop iTunes From Syncing Automatically
The first step in this process is to stop iTunes from syncing automatically whenever a device is connected. This step is extremely important. If you don’t stop iTunes from syncing automatically, any songs you have on your iPod that aren’t on your iTunes will be automatically erased as soon as the iPod is connected to the computer.
To turn off automatic syncing, make sure there aren’t any iOS devices connected to your computer and then open iTunes.
If you have a Windows computer, you’ll want to hit the ‘Edit‘ option and then select ‘Preferences.’ If you’re doing this on a Mac, you’ll need to select the ‘iTunes‘ option and then click ‘Preferences.’
Either way, you should end up in the Preferences menu. Now, select ‘Devices‘ and you should see an option that says ‘Prevent iPods, iPhones, and iPads from syncing automatically.’
Check that box and click ‘OK.’ You should be good to close iTunes and move on to the next step.
Step 2: Copy Music From iPod to Computer

This next step should be pretty easy. We want to get the music you have on your iPod onto your computer.
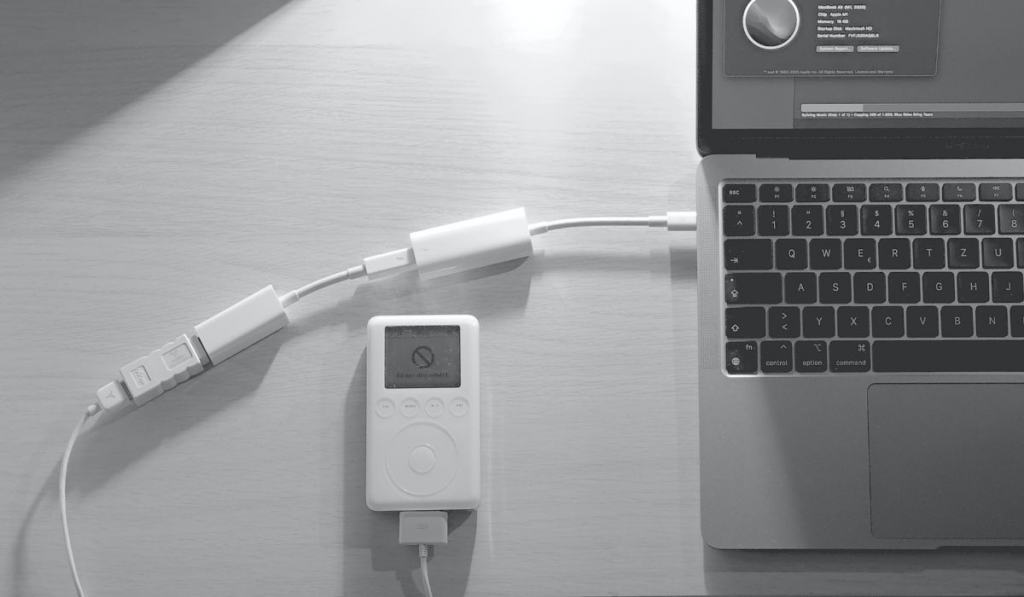
To do that, we’re going to plug your iPod into your computer and drag files from your iPod over to the computer as if your iPod were a giant flash drive.
Start by plugging your iPod into your computer. The device should show up as a drive either in your File Explorer (Windows) or your Finder (Mac). Open this drive, go to the ‘iPod_Control‘ folder, and then open ‘Music.’ You should see a list of folders with names that start with F and end with some numbers.
If you see these F folders, then feel free to move on to the last paragraph of the section. However, if you don’t see them then it’s likely that these files are being hidden from your computer.
Luckily, revealing these hidden files is simple. On a Windows computer, hit Alt+V to bring up the view tab and then hit the H key two times to reveal these hidden items. On a Mac computer, holding down Cmd+Shift+Period will toggle hidden folders on or off.
Now you should be able to see the F folders. These folders are the ones that contain the music on your iPod. All you have to do is drag them over to a location on your computer. Once you’ve copied the music, eject your iPod from the computer and move on to the next step.
Step 3: Transfer Music Into Your iTunes Library
Now that you’ve moved the music from your iPod to your computer, all you have to do is add the music to your iTunes library.
If you have a Windows computer, make sure that you put your music in a location where it can remain for the time being because if you move the files, iTunes will lose access to them.
To add your music files to your iTunes, first open the app and then select ‘File‘ from the toolbar. In the drop down menu that appears, choose either ‘Add to Library‘ if you have a Mac or ‘Add File to Library‘ if you have a windows computer.
This should open either a Finder tab or a File explorer tab where you can navigate to and select your music files for import. Once this is complete, your music should finally appear on your iTunes library, ready to enjoy.
Bonus: How to Sync Music From iTunes to an iPhone

The reverse process — moving music from your iTunes library onto an Apple device — is even easier, since this is the intended way of doing things. To proceed, plug your device into the computer with iTunes open.
If your iTunes has automatic syncing turned on, it should automatically begin to sync; however, if it isn’t on, we’ll need to do this manually.
First, click the device icon in the top left corner of the iTunes window (the one that looks like an iPhone). This should bring you to the sync menu. Using the settings tab on the left, you can select exactly which items you would like added or removed to your device during the syncing process.
Once you’re done, just press ‘Sync‘ and your files will be moved. When syncing has finished, click ‘Done,’ eject your device from the computer, and feel free to close iTunes.