Ring Doorbell Not Charging? (Easy Fix)
The Ring doorbell is a vital security addition for most people. The device allows you to see your front door’s surroundings whenever there is motion. You can observe what is going on through the Ring application regardless of whether you are home or not. Therefore, you may feel insecure if the doorbell is not charging.

Table of Contents
- Why won’t my Ring Doorbell charge?
- Ensure the USB Cable and Charger are in Good Working Condition
- Check Your Ring Doorbell’s WiFi Connection
- Check the Circuit Breaker
- Check Your Ring Doorbell Battery
- Refresh the Battery Status on the Application
- Inspect the Voltage at the Doorbell
- Confirm the Transformer Voltage
- Inspect the Doorbell’s Contacts
- Your Doorbell Could be Faulty
Why won’t my Ring Doorbell charge?
If your Ring doorbell fails to charge, check the charger and USB cable to ensure they are working. Also, consider checking the WiFi connection. Moreover, the circuit breaker could have tripped, especially if you have hardwired your device. In addition, consider checking if the doorbell’s battery is in good working condition.
This article will cover why your Ring Doorbell fails to charge. It will also cover the solutions you can explore to address this problem.
Ensure the USB Cable and Charger are in Good Working Condition
If you are charging your doorbell using a USB cable, try charging other devices with the cable. If it charges another device, then you can rule out USB cable problems. Consider replacing the cable if it doesn’t charge other devices.
A low-power charger may take a long time to charge your doorbell’s battery fully. Sometimes, it may even fail to charge it. Replace your charger with a 2.1 A charger. This charger will charge your doorbell in about five to six hours.
Check Your Ring Doorbell’s WiFi Connection
Your Ring Doorbell uses WiFi to communicate to your smartphone application. Therefore, if there is a connection problem with your Ring doorbell, your application will display the wrong battery status.
A weak or unstable signal causes your doorbell to struggle to establish a connection. Consequently, your Ring Doorbell will be using power excessively, making it look like it is not charging.
You can try moving the router closer to your doorbell to offer a strong signal. Also, you can try restarting your router.
Check the Circuit Breaker
If you have decided to hard wire your Ring Doorbell, you don’t need to worry about charging the battery because the doorbell charges it automatically.
Therefore, if the device works correctly, it should fully charge the battery, and you should see that on your application.
Check under the Device Health section on the application to ensure the power status reads “Very Good” or “Good.” If not, there could be a problem in your power supply, causing the battery to remain low. The power getting to your Ring Doorbell could be insufficient, hence failing to charge the battery.

Check Your Ring Doorbell Battery
Your Ring Doorbell’s battery may reduce its ability to maintain a charge for extended periods. This is mostly the case if you have stayed with the battery for a long time.
Usually, lithium batteries maintain optimal performance for 2-3 years, after which their ability to retain charge starts reducing. Factors that cause the doorbell’s battery to reduce its performance include:
- Exposing the battery to temperatures above 120°F (48.5°C) or below -5°F (-20.5°C) frequently. At temperatures above 120°F (48.5°C), the battery may be unable to retain a charge. Cold conditions increase the battery’s resistance, hence complicating the charging process.
- Allowing the battery to discharge completely. Discharging lithium batteries interferes with their longevity.
If your battery starts reducing its capacity to hold a charge, consider getting a new one.
Refresh the Battery Status on the Application
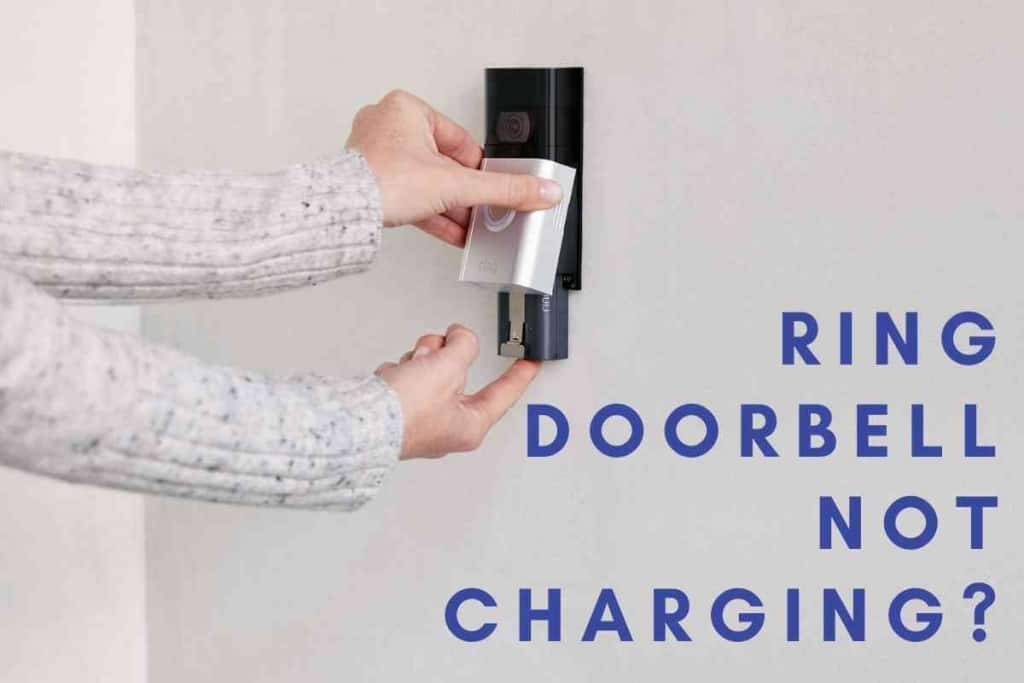
If your Ring Doorbell uses a lithium battery as the power source, you may need to remove it and charge it manually. Sometimes, you may notice immediately after charging that the battery status on the Ring app still indicates the battery is low.
This may occur while the battery is charging or immediately after charging, giving you the impression that the battery did not get any charge. Try to trigger the motion activation or ring the doorbell. Either of these activities will update your battery status.
Inspect the Voltage at the Doorbell
Typically, your doorbell’s voltage should not be lower than your transformer’s for a hardwired Ring Doorbell. If the voltage at the doorbell drops below 16V, your device may fail to charge your battery.
Usually, if you have a long wire linking the doorbell and the transformer, the voltage at the doorbell may reduce.
This is because a long wire increases resistance. Requesting a professional technician to check your wiring may take care of this problem.
Confirm the Transformer Voltage
The transformer is usually near the circuit breaker. Its role is to step down voltage from 120V to 16V. You can use a multimeter to test the voltage at the transformer. The voltage should be 16V. If it is lower than that, it may not be sufficient to charge your doorbell’s battery.
You should also check the transformer cables and tighten the loose ones. Also, ensure your circuit breaker is off before working on your transformer. You may need to replace your transformer if the voltage is lower than 16V.
Inspect the Doorbell’s Contacts
Doorbells, such as 2nd Generation Ring Video Doorbell, use a built-in battery. If the doorbell’s internal contacts are not linking correctly to the backplate, your doorbell will not function.
Consequently, your battery status will reflect as low.
To solve this issue, open the device and check whether the screws on the fixing plate are level with the surface. When they are not level, they interfere with the contact between the internal doorbell contacts and the backplate contacts.
Your Doorbell Could be Faulty
If you have tried all the above activities and your doorbell’s battery is still failing to charge, your doorbell could be faulty. Your best bet is to reach Ring’s customer care support for help. You should explain the problem clearly without omitting any details.
Ring will repair or replace your doorbell if you have not surpassed the warranty period, which is usually one year.
If you are unsure how to conduct the repairs we have covered in this article, reach out to a professional electrician to do that for you. Attempting to repair your device when unsure can cause more damage or even hurt you.