How To Connect Nintendo Switch Joy-Cons To An iPhone
iPhones are versatile and serve as an excellent platform for gaming. However, while playing games, using the touch screen can be a bit challenging, often resulting in streaks and smudges.

Can Nintendo Switch joy-cons connect to an iPhone?
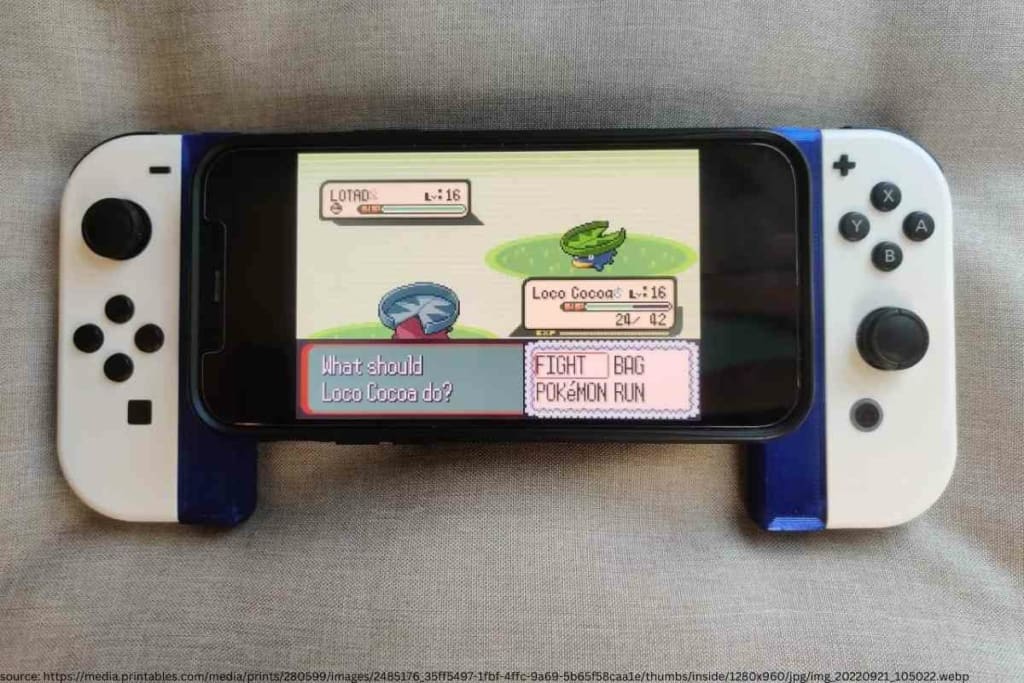
For a more enhanced gaming experience on your iPhone, you can connect your Nintendo Switch joy-cons. But first, ensure that your iPhone is updated to iOS 16. Once you’ve updated to the latest version, pairing your joy-cons with your iPhone becomes a breeze, offering a more immersive gaming experience.
We had the opportunity to engage with expert gamers, well-versed in a variety of gaming techniques. Their consensus was clear: using an iPhone in tandem with Nintendo Switch joy-cons provides a superior gaming experience.
Connecting Nintendo Switch Joy-cons to an iPhone
Since its introduction in 2007, the Nintendo Switch has earned global acclaim as a leading gaming console.
This recognition is largely attributed to the wide range of popular games supported by the Nintendo Switch. Another notable feature is its portability, allowing gamers to carry their Nintendo Switch with ease, thanks to its compact design.
The Nintendo Switch offers multiple gaming modes. You can dock it to your Smart TV for a big-screen experience or play directly on the console for a more personal touch. The versatility of the Nintendo Switch has significantly contributed to its soaring popularity.
Gamers from all corners of the globe are vocal about their admiration for the Nintendo Switch’s standout features, particularly its two detachable joy-cons. These controllers can either be used simultaneously in a game or shared with a friend for cooperative play. With the introduction of iOS 16, it’s now feasible to connect Nintendo joy-cons to your iPhone.
While iPhones are equipped for touch screen gaming, the experience can sometimes be less than ideal, especially with the potential for smudges and fingerprints. This is precisely why the capability to connect Nintendo Switch joy-cons to an iPhone is such a groundbreaking advancement.
By connecting the Nintendo Switch joy-cons to your iPhone, you can significantly elevate your gaming experience, even on the iPhone’s relatively smaller screen. This integration means you no longer need to lug around both your phone and separate gamepads, especially when diving into games like Call of Duty.
These joy-cons can be effortlessly connected to an iPhone using a variety of connectivity methods. Their hybrid nature makes them a perfect match for any avid gamer.

How to Connect the Nintendo Switch Joy-Cons to an iPhone
If you’ve been eager to indulge in your favorite games on your iPhone but are hesitant about using the touch screen, you’re in luck. Now, you can seamlessly connect your Nintendo Switch joy-cons to your iPhone for an unparalleled gaming experience.
To achieve this, you can connect either one or both joy-cons to your iPhone, depending on the specific requirements of your chosen game. Apple’s advanced iOS 16 now facilitates the connection of a Nintendo Switch joy-con to your iPhone.
Here’s a step-by-step guide on how to pair your Nintendo Switch joy-con with your iPhone:
- First and foremost, update your iPhone to iOS 16. If you’re operating on an earlier version, you’ll be unable to connect the joy-cons to your iPhone. Hence, downloading the latest update and installing it is crucial.
- Next, activate the Bluetooth functionality on your iPhone.
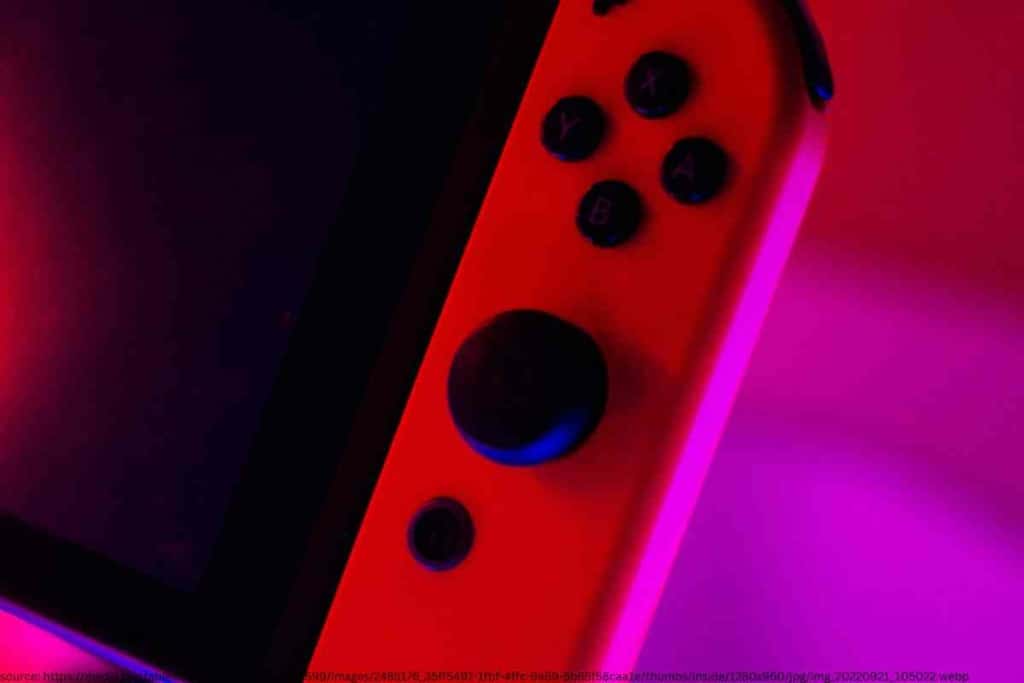
- On your Nintendo Switch joy-con, you’ll notice a small black button located on the inner side of the controller.
- Press and hold this black button on the Nintendo Switch. As a result, the joy-con’s LED indicators will begin to flash, signaling that it’s in pairing mode.
- Navigate to your iPhone’s Bluetooth settings and peruse the list of available devices. Among them, you’ll find the joy-con.
- Simply tap on the joy-con displayed on your screen, and it will automatically pair with your iPhone. A clear indication of a successful connection is when the LED indicator on your joy-con ceases to flash.
- If you wish to use both joy-cons on your iPhone, repeat steps 2 through 6 for the second controller.
How to Pair the Nintendo Switch Joy-Con with an iPad
Beyond the iPhone, the joy-cons can also be paired with an iPad. Given the iPad’s larger screen compared to the iPhone, this can offer an even more immersive gaming experience.
The process to connect the Nintendo Switch joy-cons to an iPad mirrors that of the iPhone. Here’s how you can achieve a successful connection:
- Begin by updating your iPad’s software to iOS 16. If your device is running an older version, it’s essential to download iOS 16 and install it before proceeding.
- Navigate to the Bluetooth Connectivity settings on your iPad and activate it.
- Take the joy-con in hand and turn it to its inner side. Here, you’ll find a small black button.
- Press and hold this button until the LED indicator light begins to flash, indicating that it’s ready to pair.
- In the list of available devices displayed on the iPad, ensure that the joy-con is listed.
- Tap on the joy-con option on your iPad to initiate the pairing process. The connection should be established quickly and automatically. A successful pairing is confirmed when the flashing LED indicator light becomes steady.
- For those wishing to use both joy-cons, simply repeat steps 2 through 6 for the second controller.
How to Pair the Nintendo Switch Joy-Con with Apple TV

Have you ever contemplated the idea of gaming on Apple TV? With a plethora of games available on both Apple Arcade and the Apple Store, the possibilities are endless. Once you’ve selected your preferred games, you can enhance your gaming experience by connecting the joy-cons to your Apple TV.
However, just like with the iPhone and iPad, it’s imperative that your Apple TV is updated to the latest iOS 16 version. If it’s not, you’ll need to download and install the update before proceeding.
Here’s a detailed guide on how to connect your joy-cons to Apple TV:
- Start by navigating to the ‘Home Screen’ on your Apple TV. From there, search for the ‘Remotes’ option.
- Select the ‘Remotes’ option, followed by a click on ‘Devices’.
- From the subsequent menu, select the ‘Bluetooth’ segment and activate it for your Apple TV.
- Now, take your Nintendo Switch joy-con and turn it to its inner side. Here, you’ll find the black pairing button.
- Press and hold this button, waiting for the LED light indicator to activate and begin flashing.
- Return to your Apple TV settings and select the joy-con from the list of available devices. Tap on the device to establish a connection. Once connected, the flashing LED light will remain steady, signaling a successful pairing.
How Do You Unpair Nintendo Switch Joy-Con from an iPhone?
If you ever need to disconnect or unpair your joy-con from your iPhone, the process is straightforward. Simply head over to your iPhone’s settings and select the ‘Bluetooth’ option. In the list of paired devices, locate the joy-con.
Next to it, you’ll find a blue information icon. Tap on this icon and select ‘Disconnect’. The joy-con will then be automatically disconnected from your iPhone. This same procedure is applicable for both the iPad and Apple TV.
Key Takeaway
- Nintendo Switch joy-cons are fully compatible with iPhones.
- To ensure a successful pairing, it’s crucial to have the latest iOS 16 installed.
- In addition to iPhones, Nintendo Switch joy-cons can also be paired with iPads and Apple TVs.
- The process to unpair the joy-cons from an iPhone is as straightforward as the pairing process.